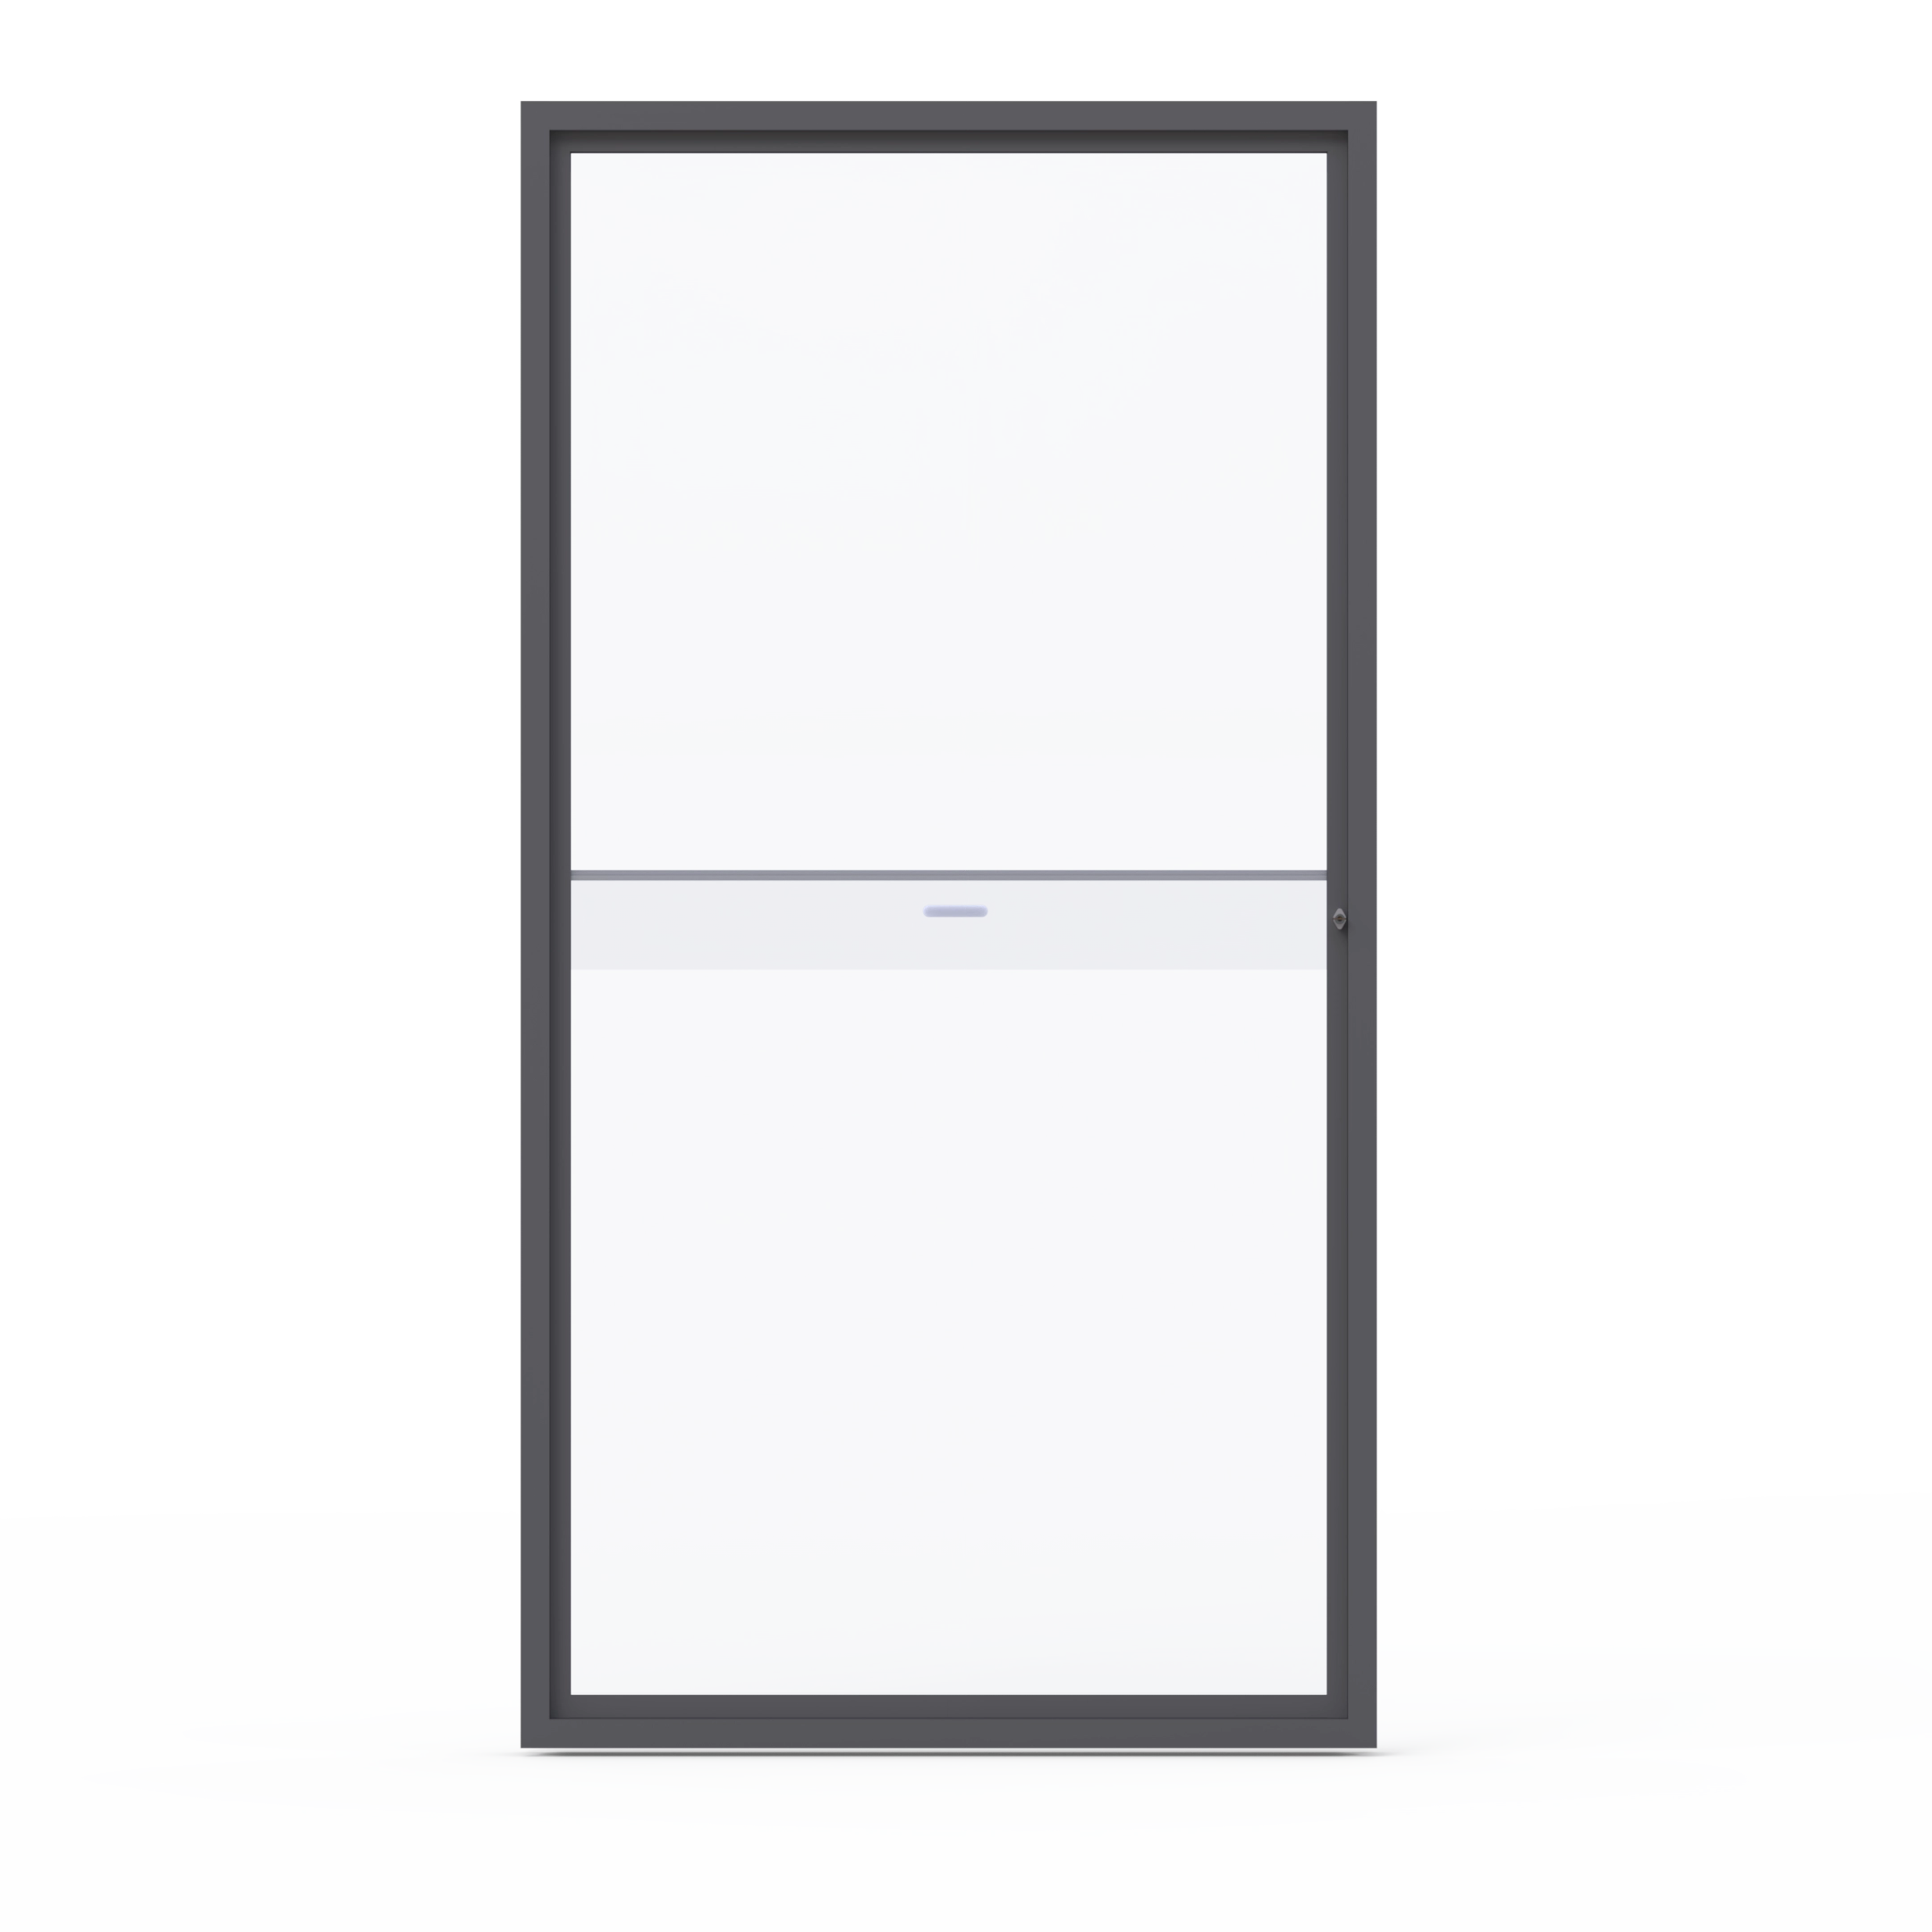
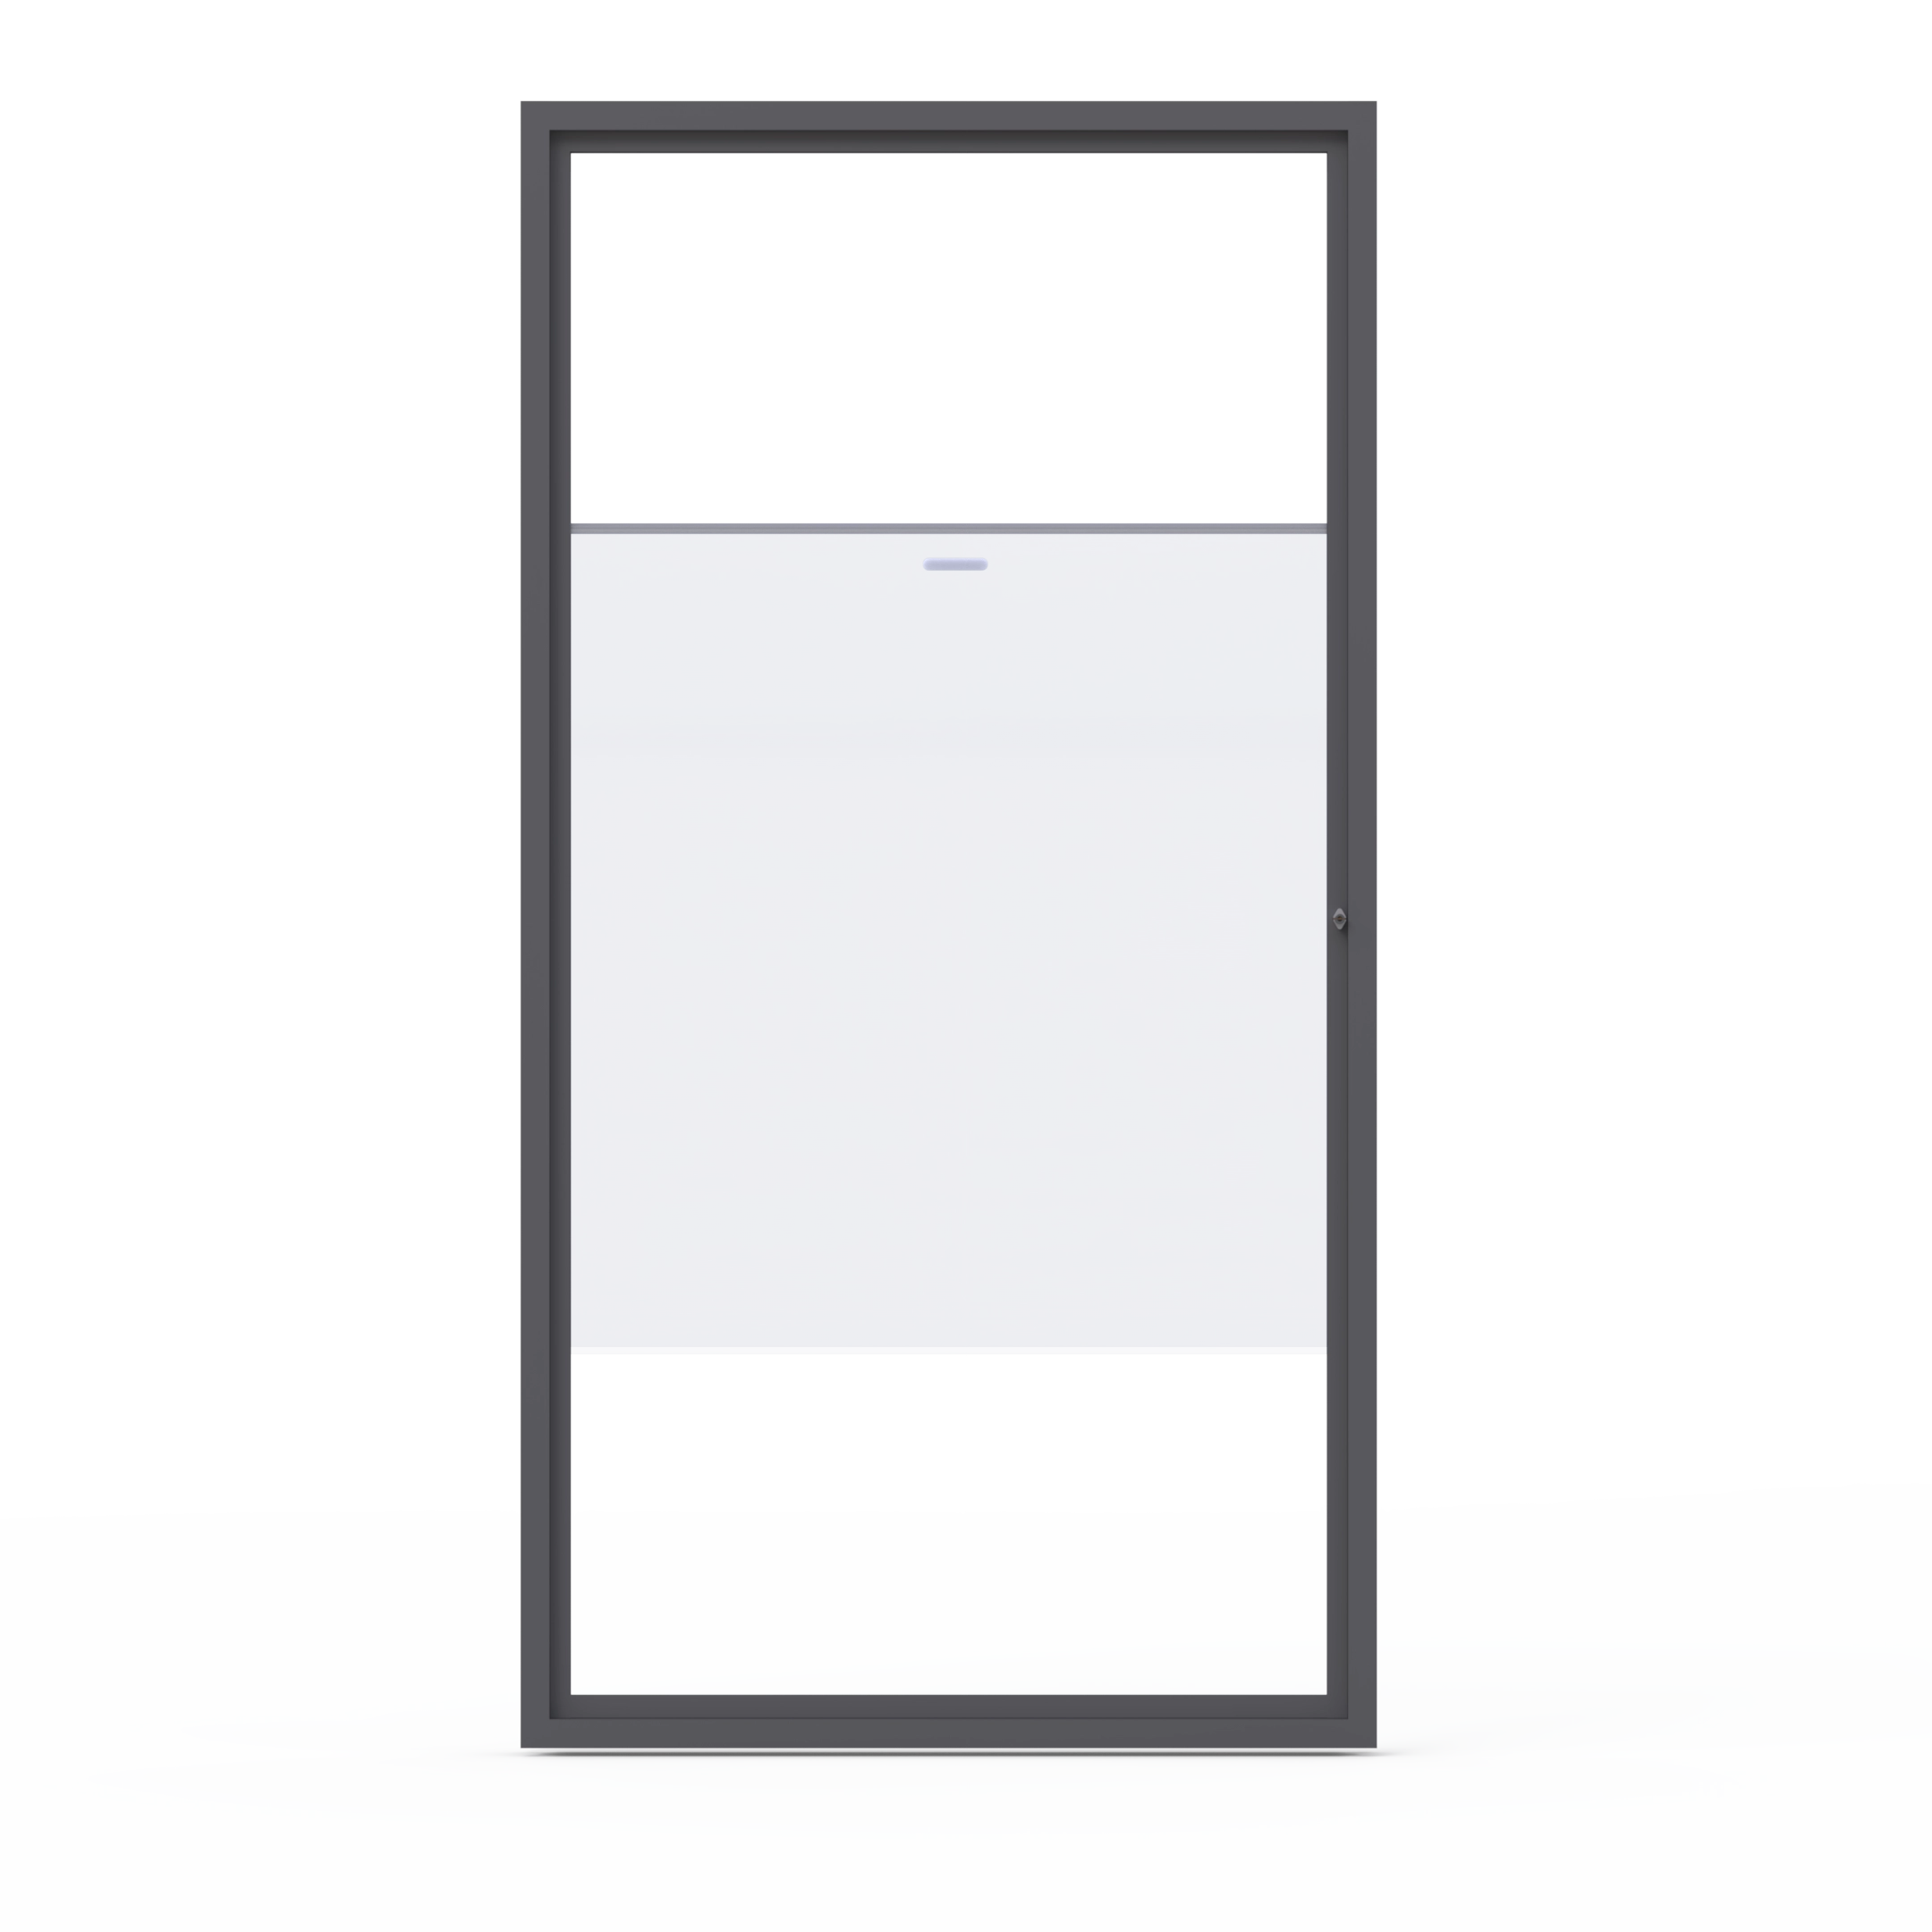

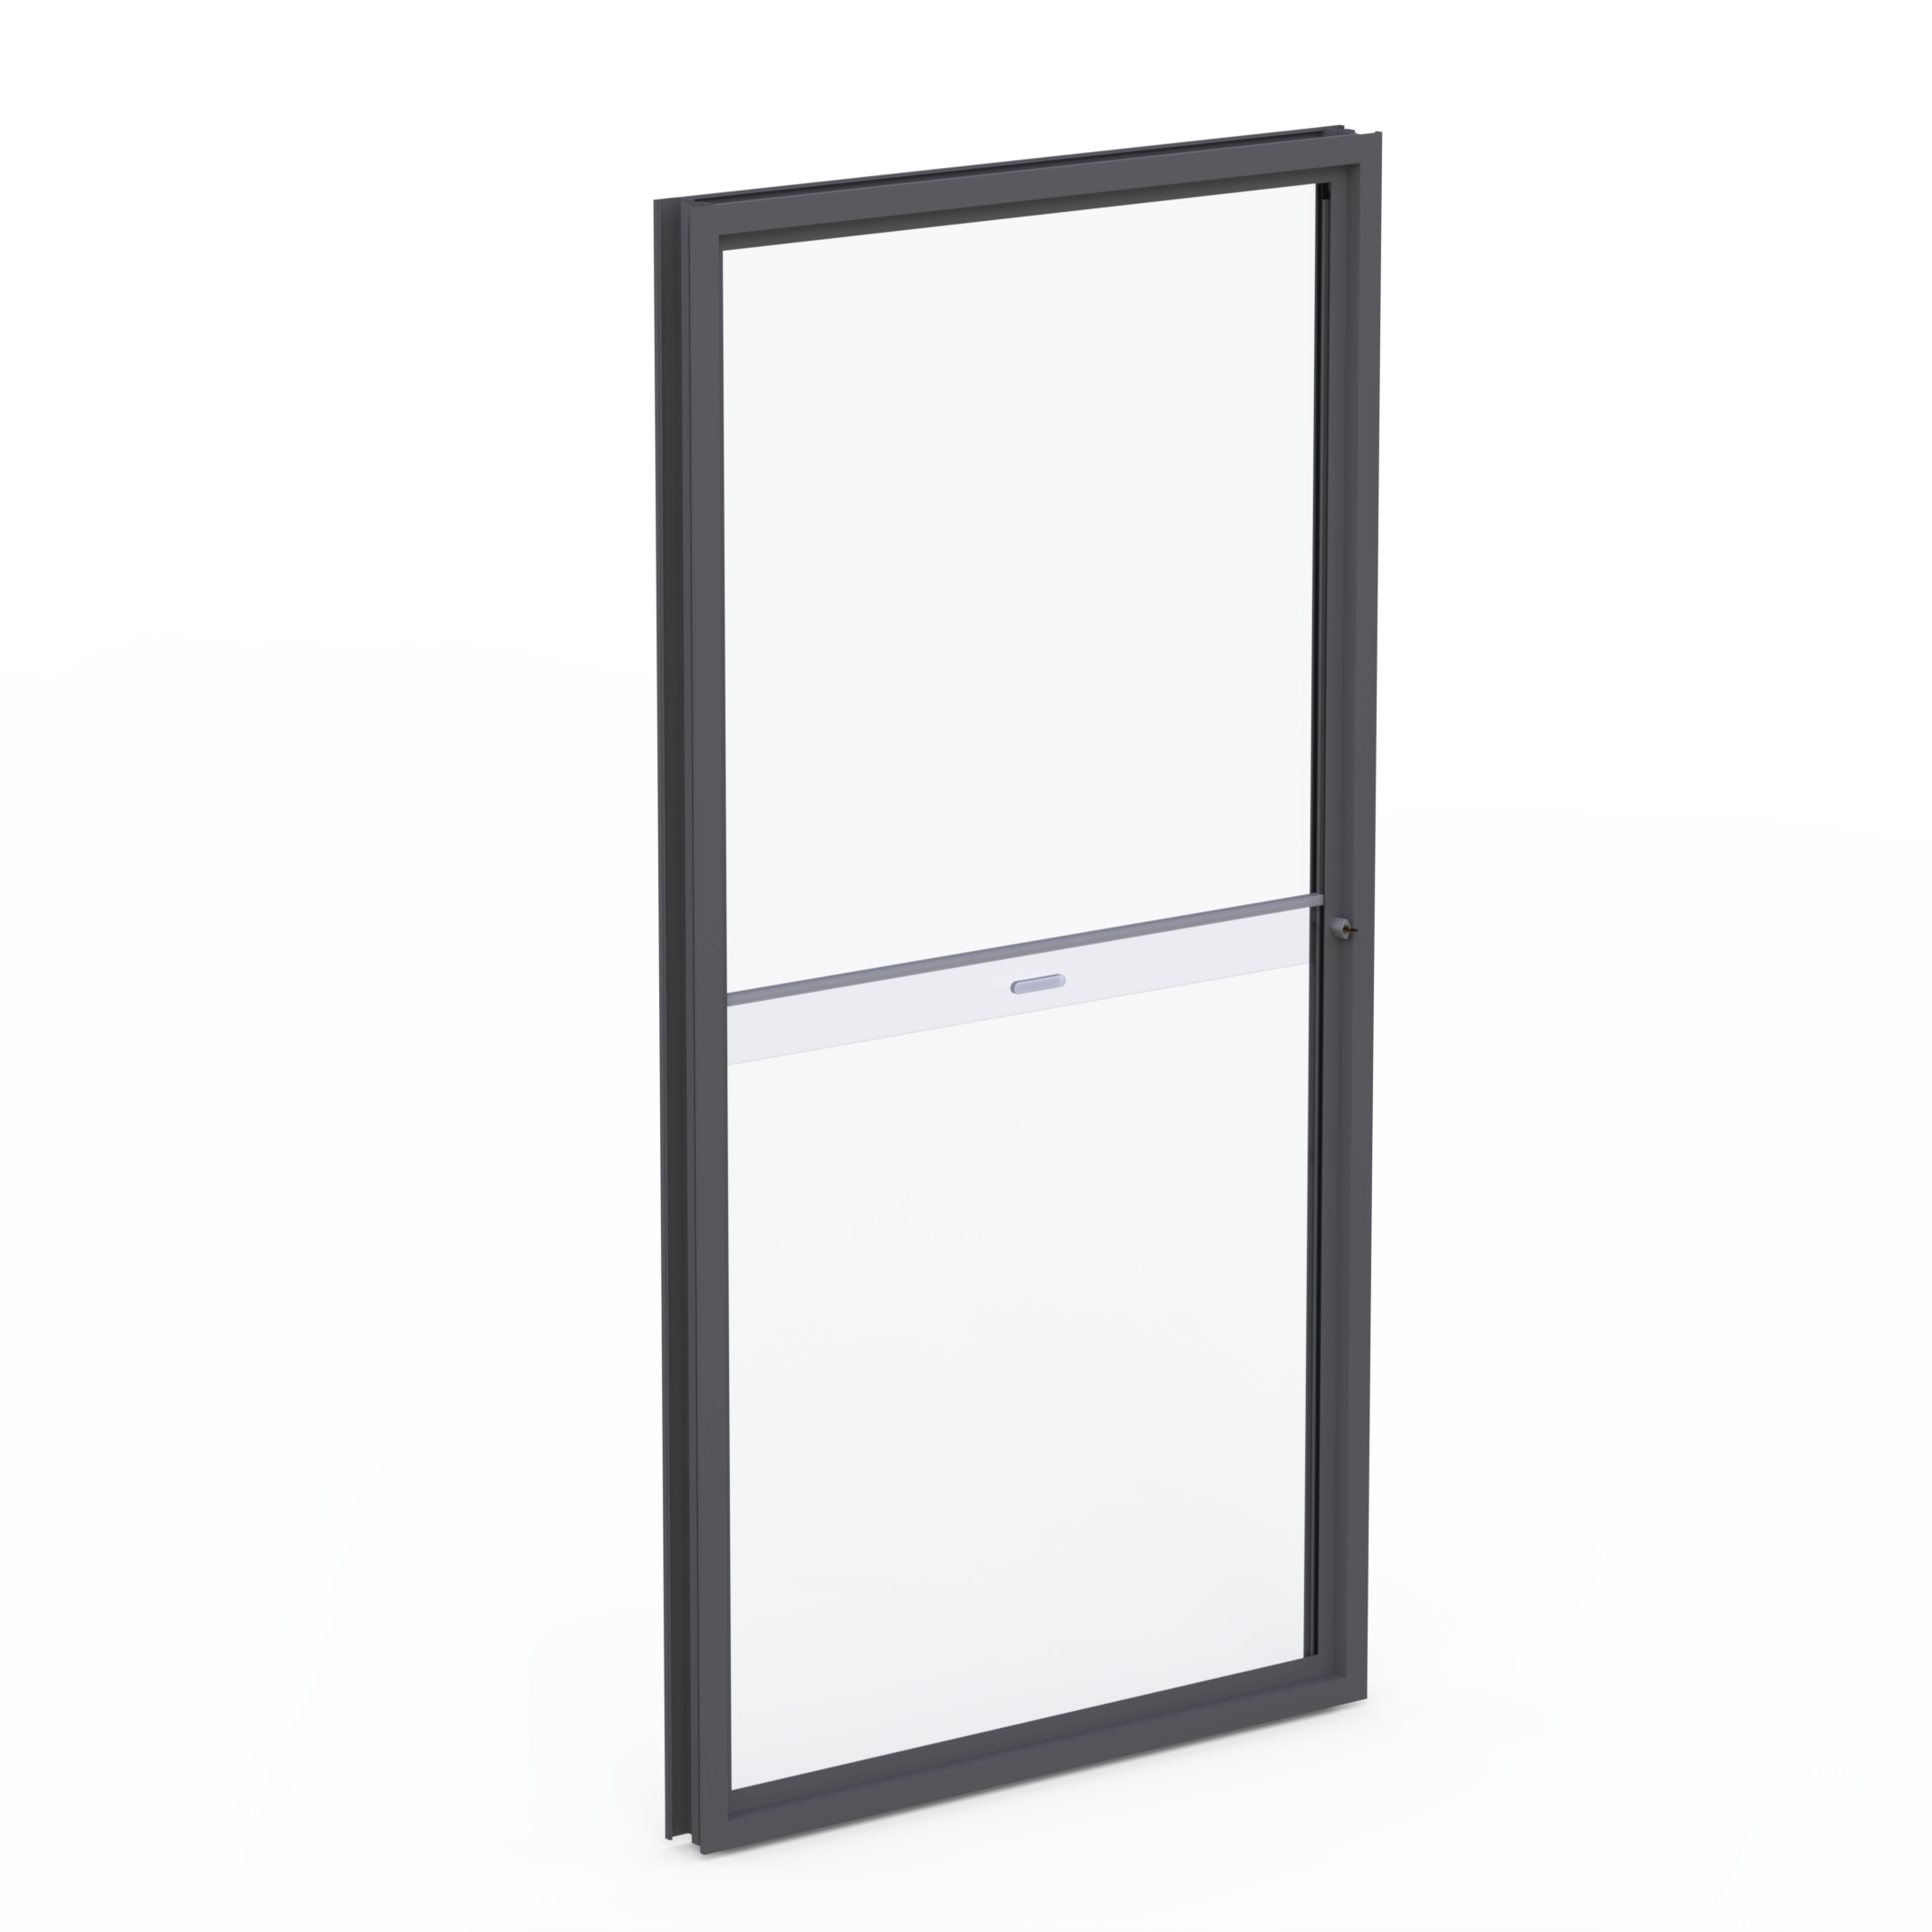
No Counterweights or Spring Balances required – Pure and Simple Function
Introducing the CiiLOCK Engineering Sashless Window Kitset. Sashless windows redefine modern window design by offering unobstructed views and superior ventilation without compromising on functionality or aesthetics. These innovative systems eliminate the traditional sash frame, providing a clean, minimalist appearance that enhances the overall look of any space. The absence of a sash frame allows for completely clear sightlines, maximising natural light and offering expansive views. Designed for ease of use, sashless windows feature high-quality components that ensure smooth and effortless operation.
Introducing the CiiLOCK Engineering Sashless Window Kitset: a sleek, sash-free design offering unobstructed views, superior ventilation, and smooth, effortless operation for a modern, minimalist aesthetic.
What is the CiiLOCK Sashless Kit?
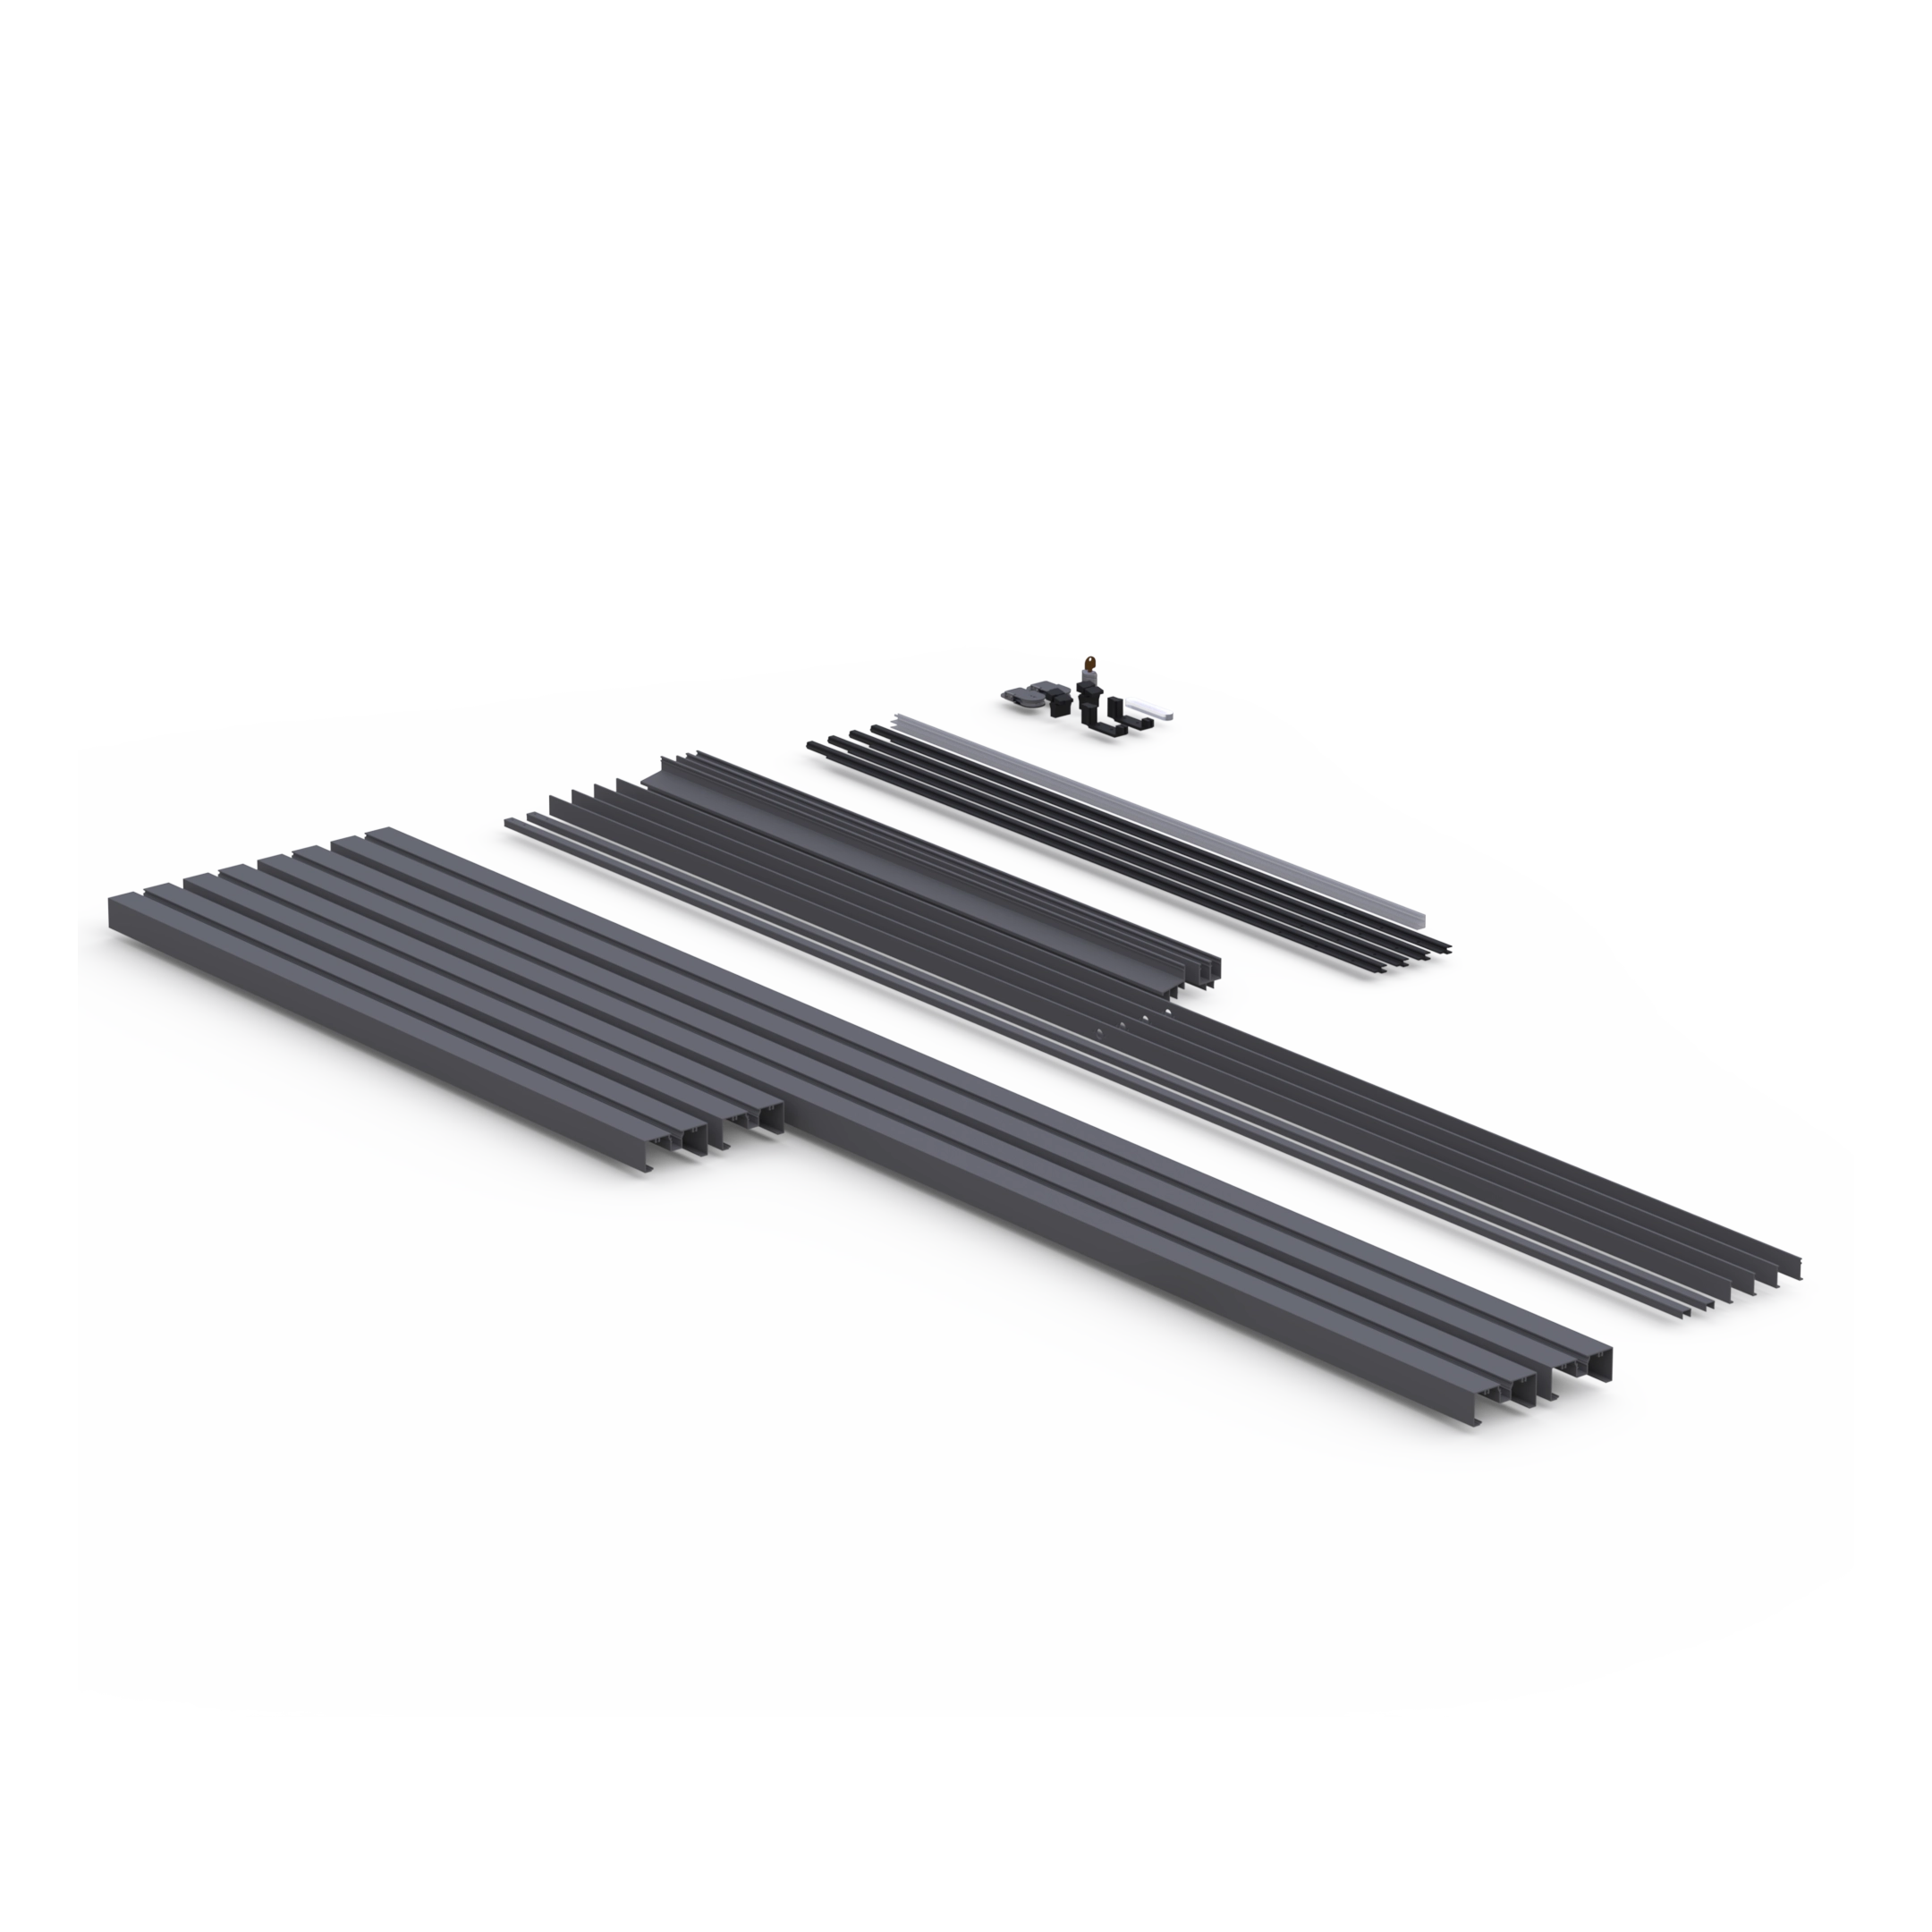
The CiiLOCK Sashless Window Kit is a complete, easy-to-assemble solution for creating sleek, modern sashless windows with minimal visible framing for uninterrupted views and smooth operation. The kit includes all necessary extrusions and hardware (excluding glass), so you have everything they need in one package. By simply following the provided cutting formulas, you can customize the window size to fit any space up to 1m wide and 2m tall. This innovative design combines CiiLOCK’s advanced engineering with user-friendly assembly, making it ideal for residential and commercial applications seeking a minimalist, streamlined window aesthetic.
The CiiLOCK Sashless Window Kit is a customizable, easy-to-assemble solution for minimalist windows with minimal framing. It includes essential hardware (excluding glass) and allows sizing up to 1m by 2m, combining advanced engineering with user-friendly assembly for clear views in residential and commercial spaces.
Diamond Push Lock
The Diamond Push Lock is a precision-engineered, compact locking mechanism designed for secure and easy use. Ideal for sashless windows, its push-to-lock feature ensures quick engagement and robust security, seamlessly combining functionality with a sleek, modern design.
Sashless Pulley
Experience effortless performance year after year with our high-load sashless pulleys-built for durability, smooth operation, and precise balance, even under heavy glazing and frequent daily use in demanding environments like schools, apartments, and commercial buildings.


Step One
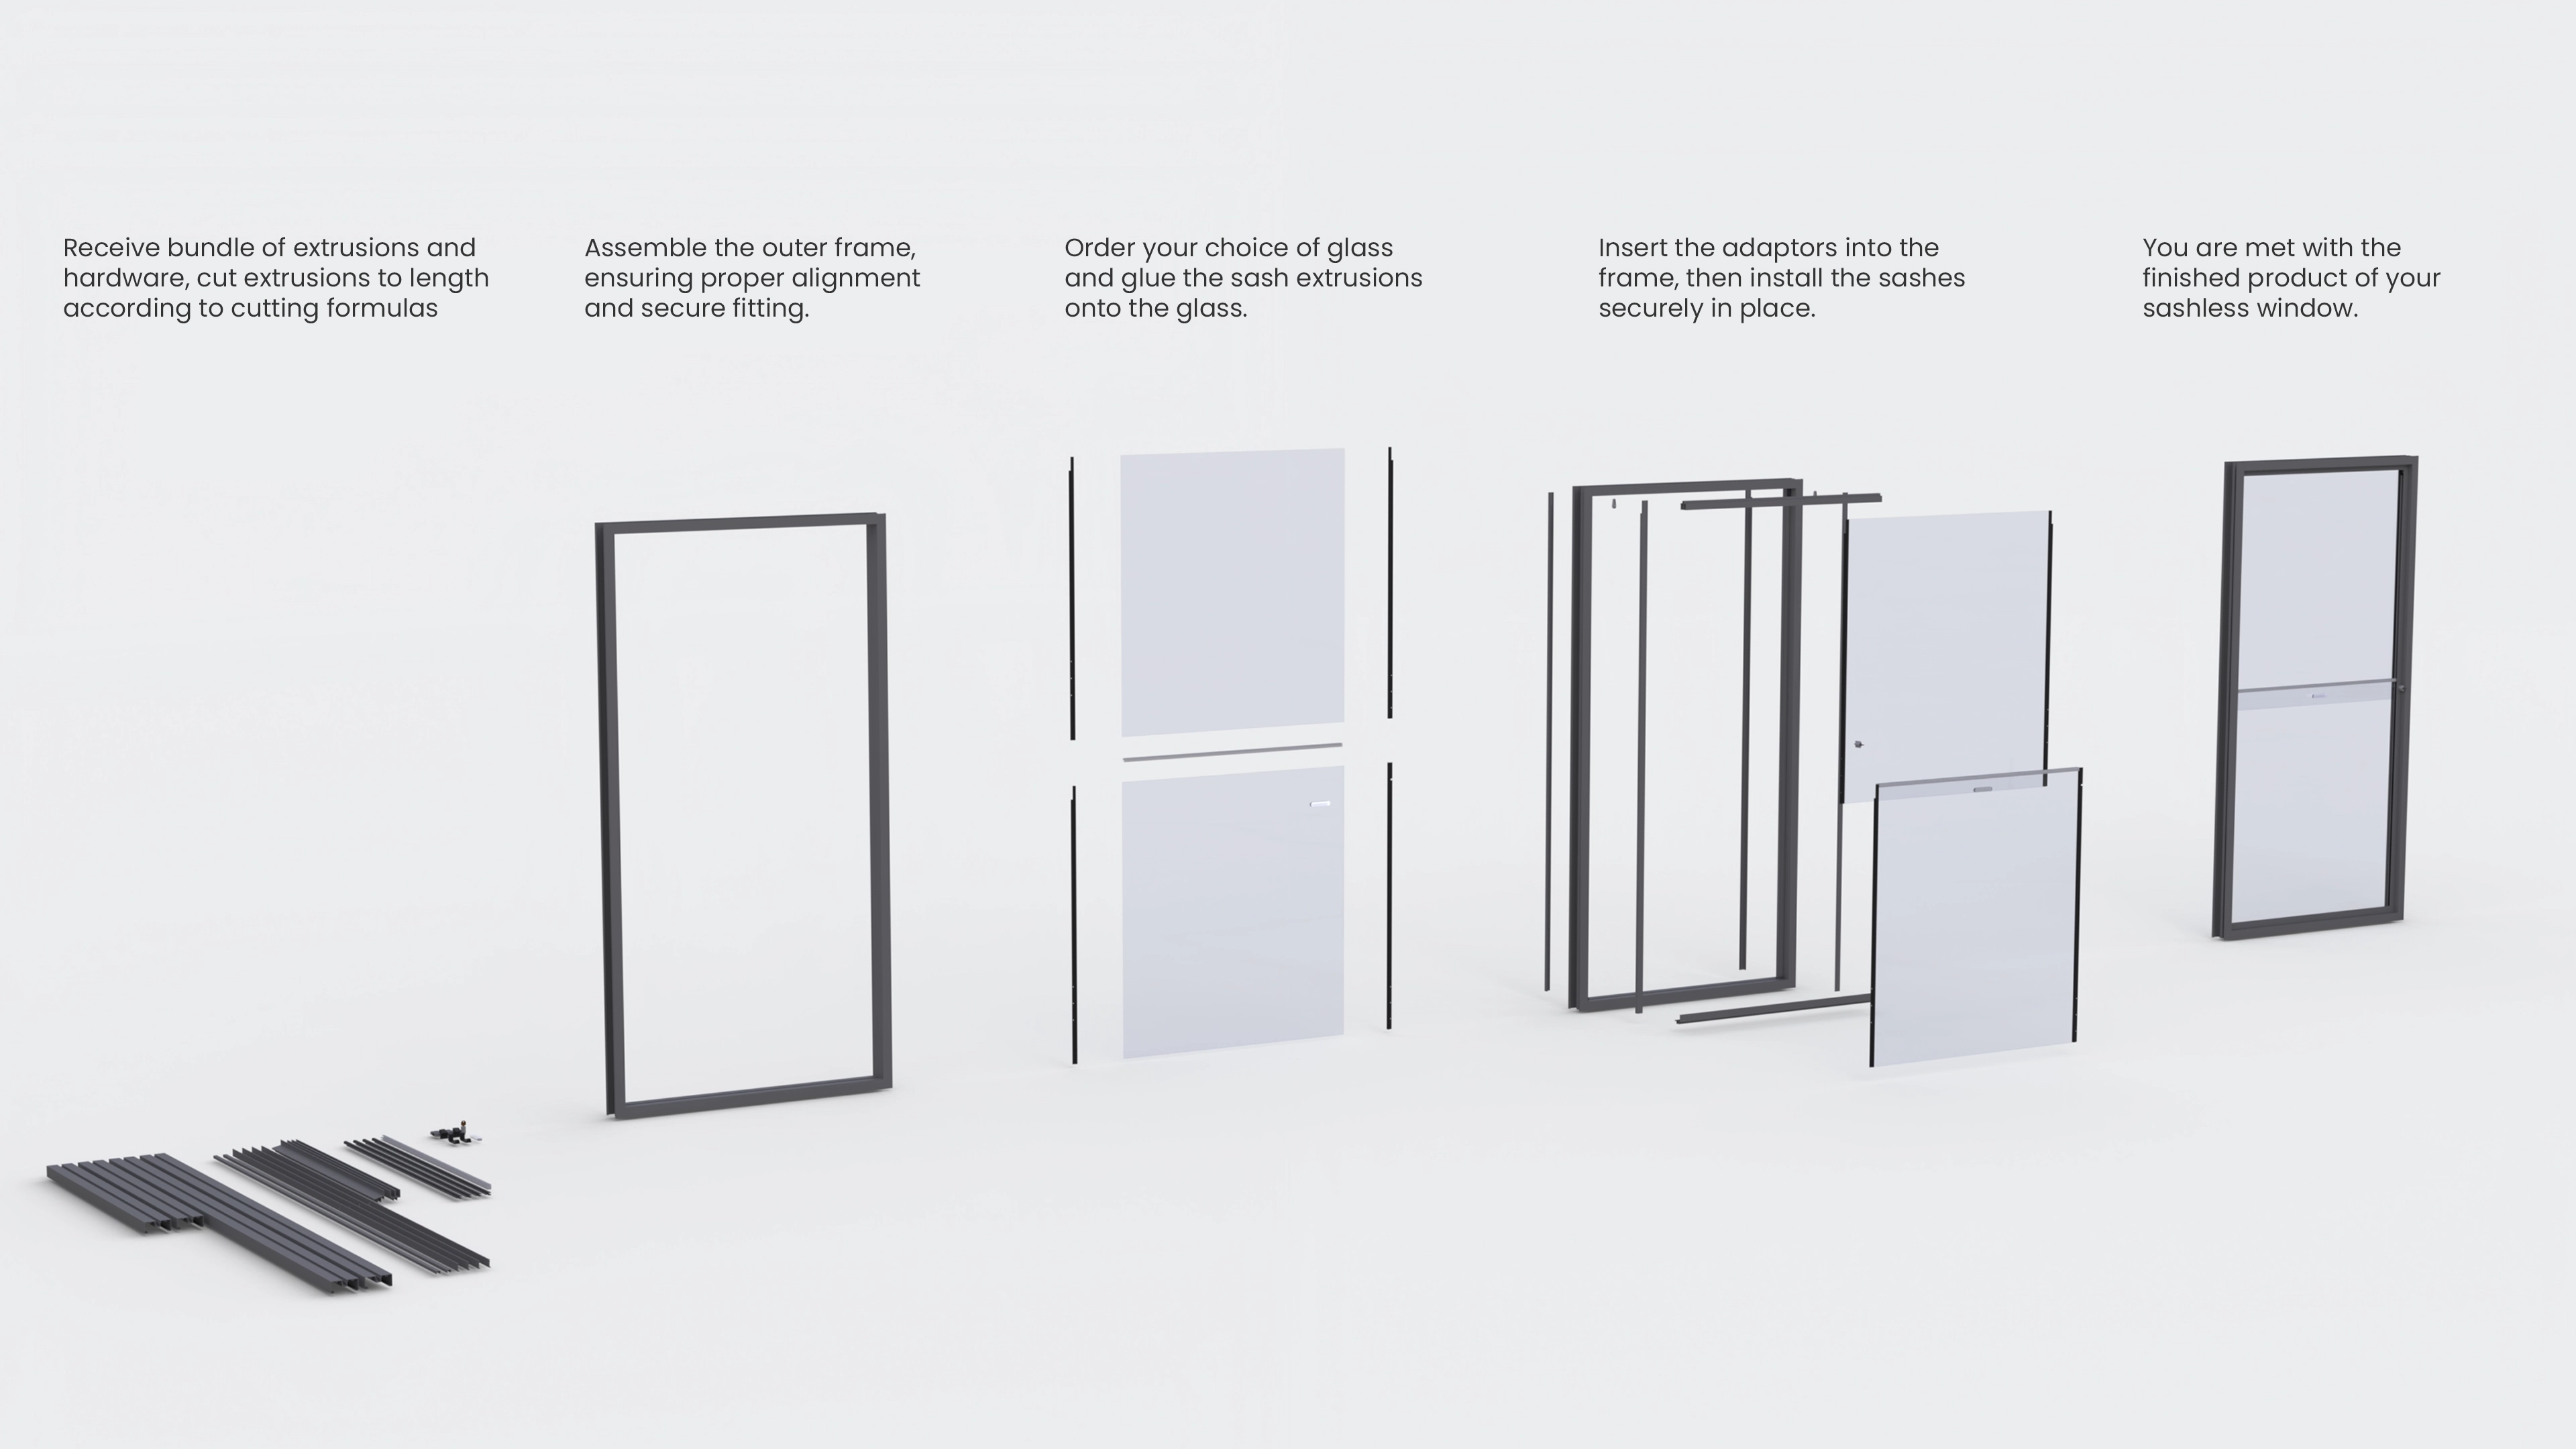
Step One is straightforward: receive your sashless window bundle (excluding glass), which includes everything you need to build a window up to 1m wide by 2m tall. Simply use the provided cutting formulas, which use your desired overall window width (W) and height (H) to calculate the cut lengths for each profile and the dimensions for each glass panel. Then, get cutting!
Step Two
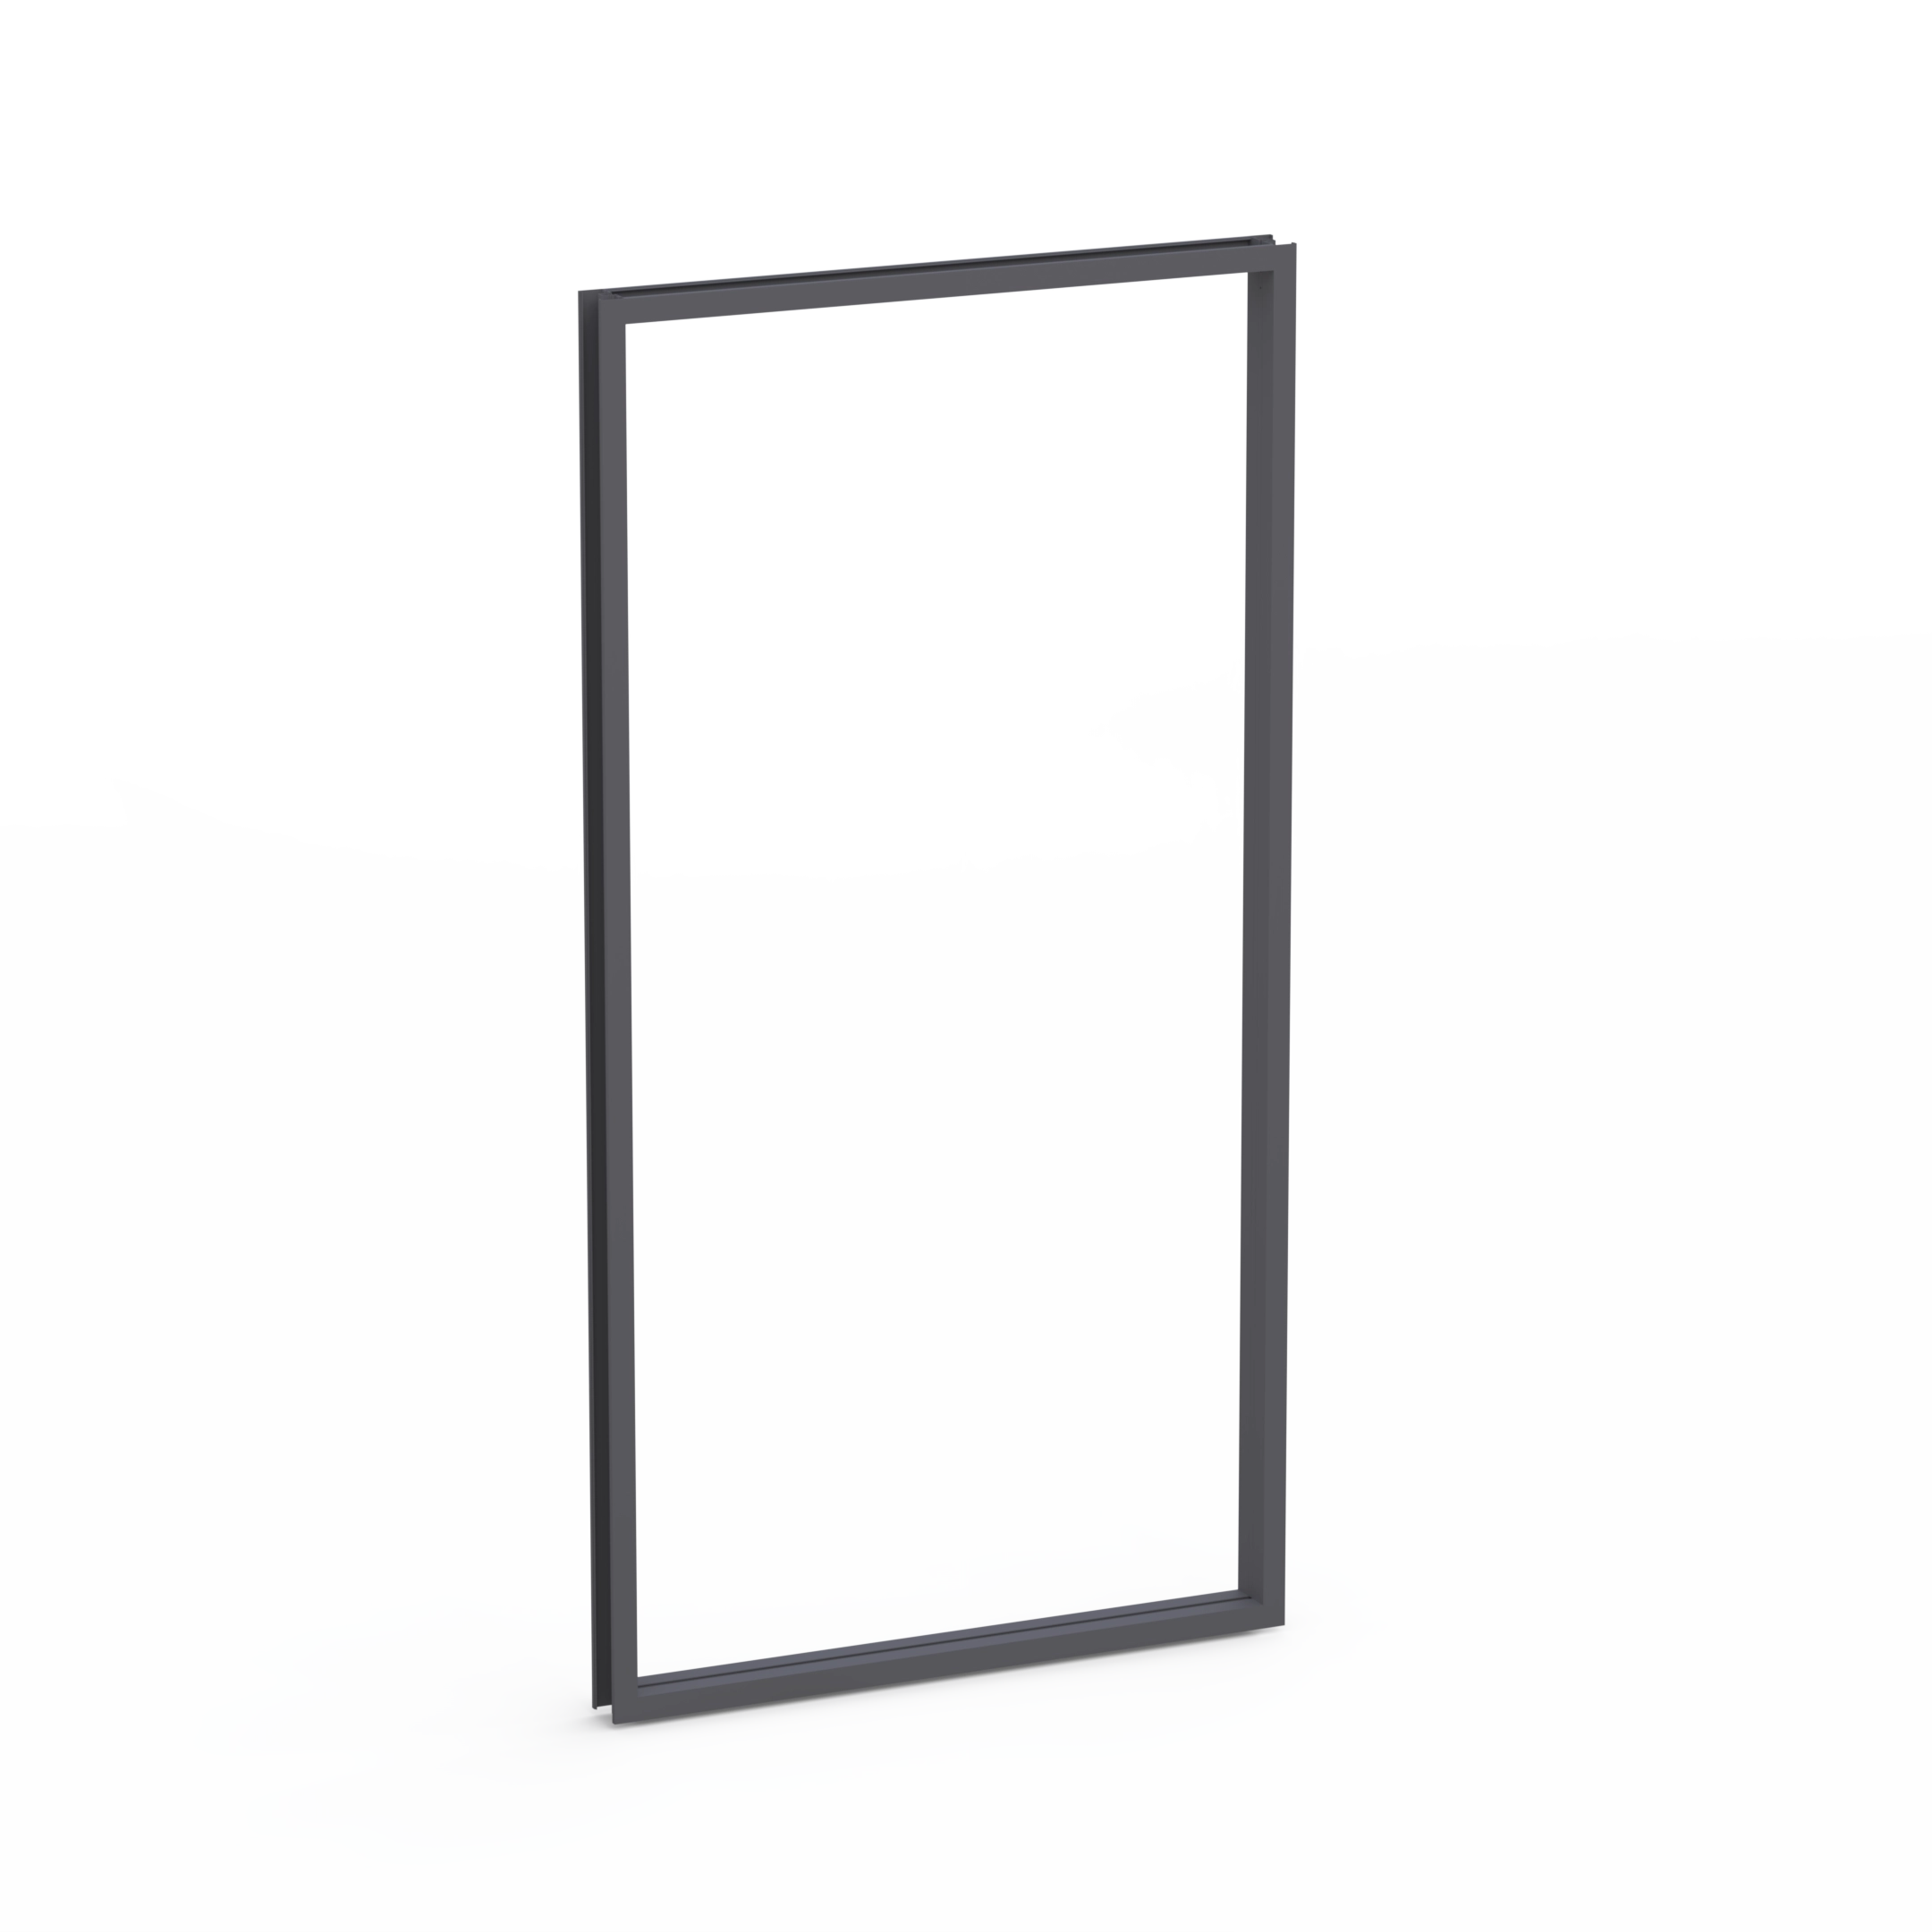
The second step is to assemble the outer frame from Clip44 frame extrusions. The outer frame forms the base structure which the rest of the components are attached to. It is normally best to install the outer frame onsite, before attaching the next components.
Step Three
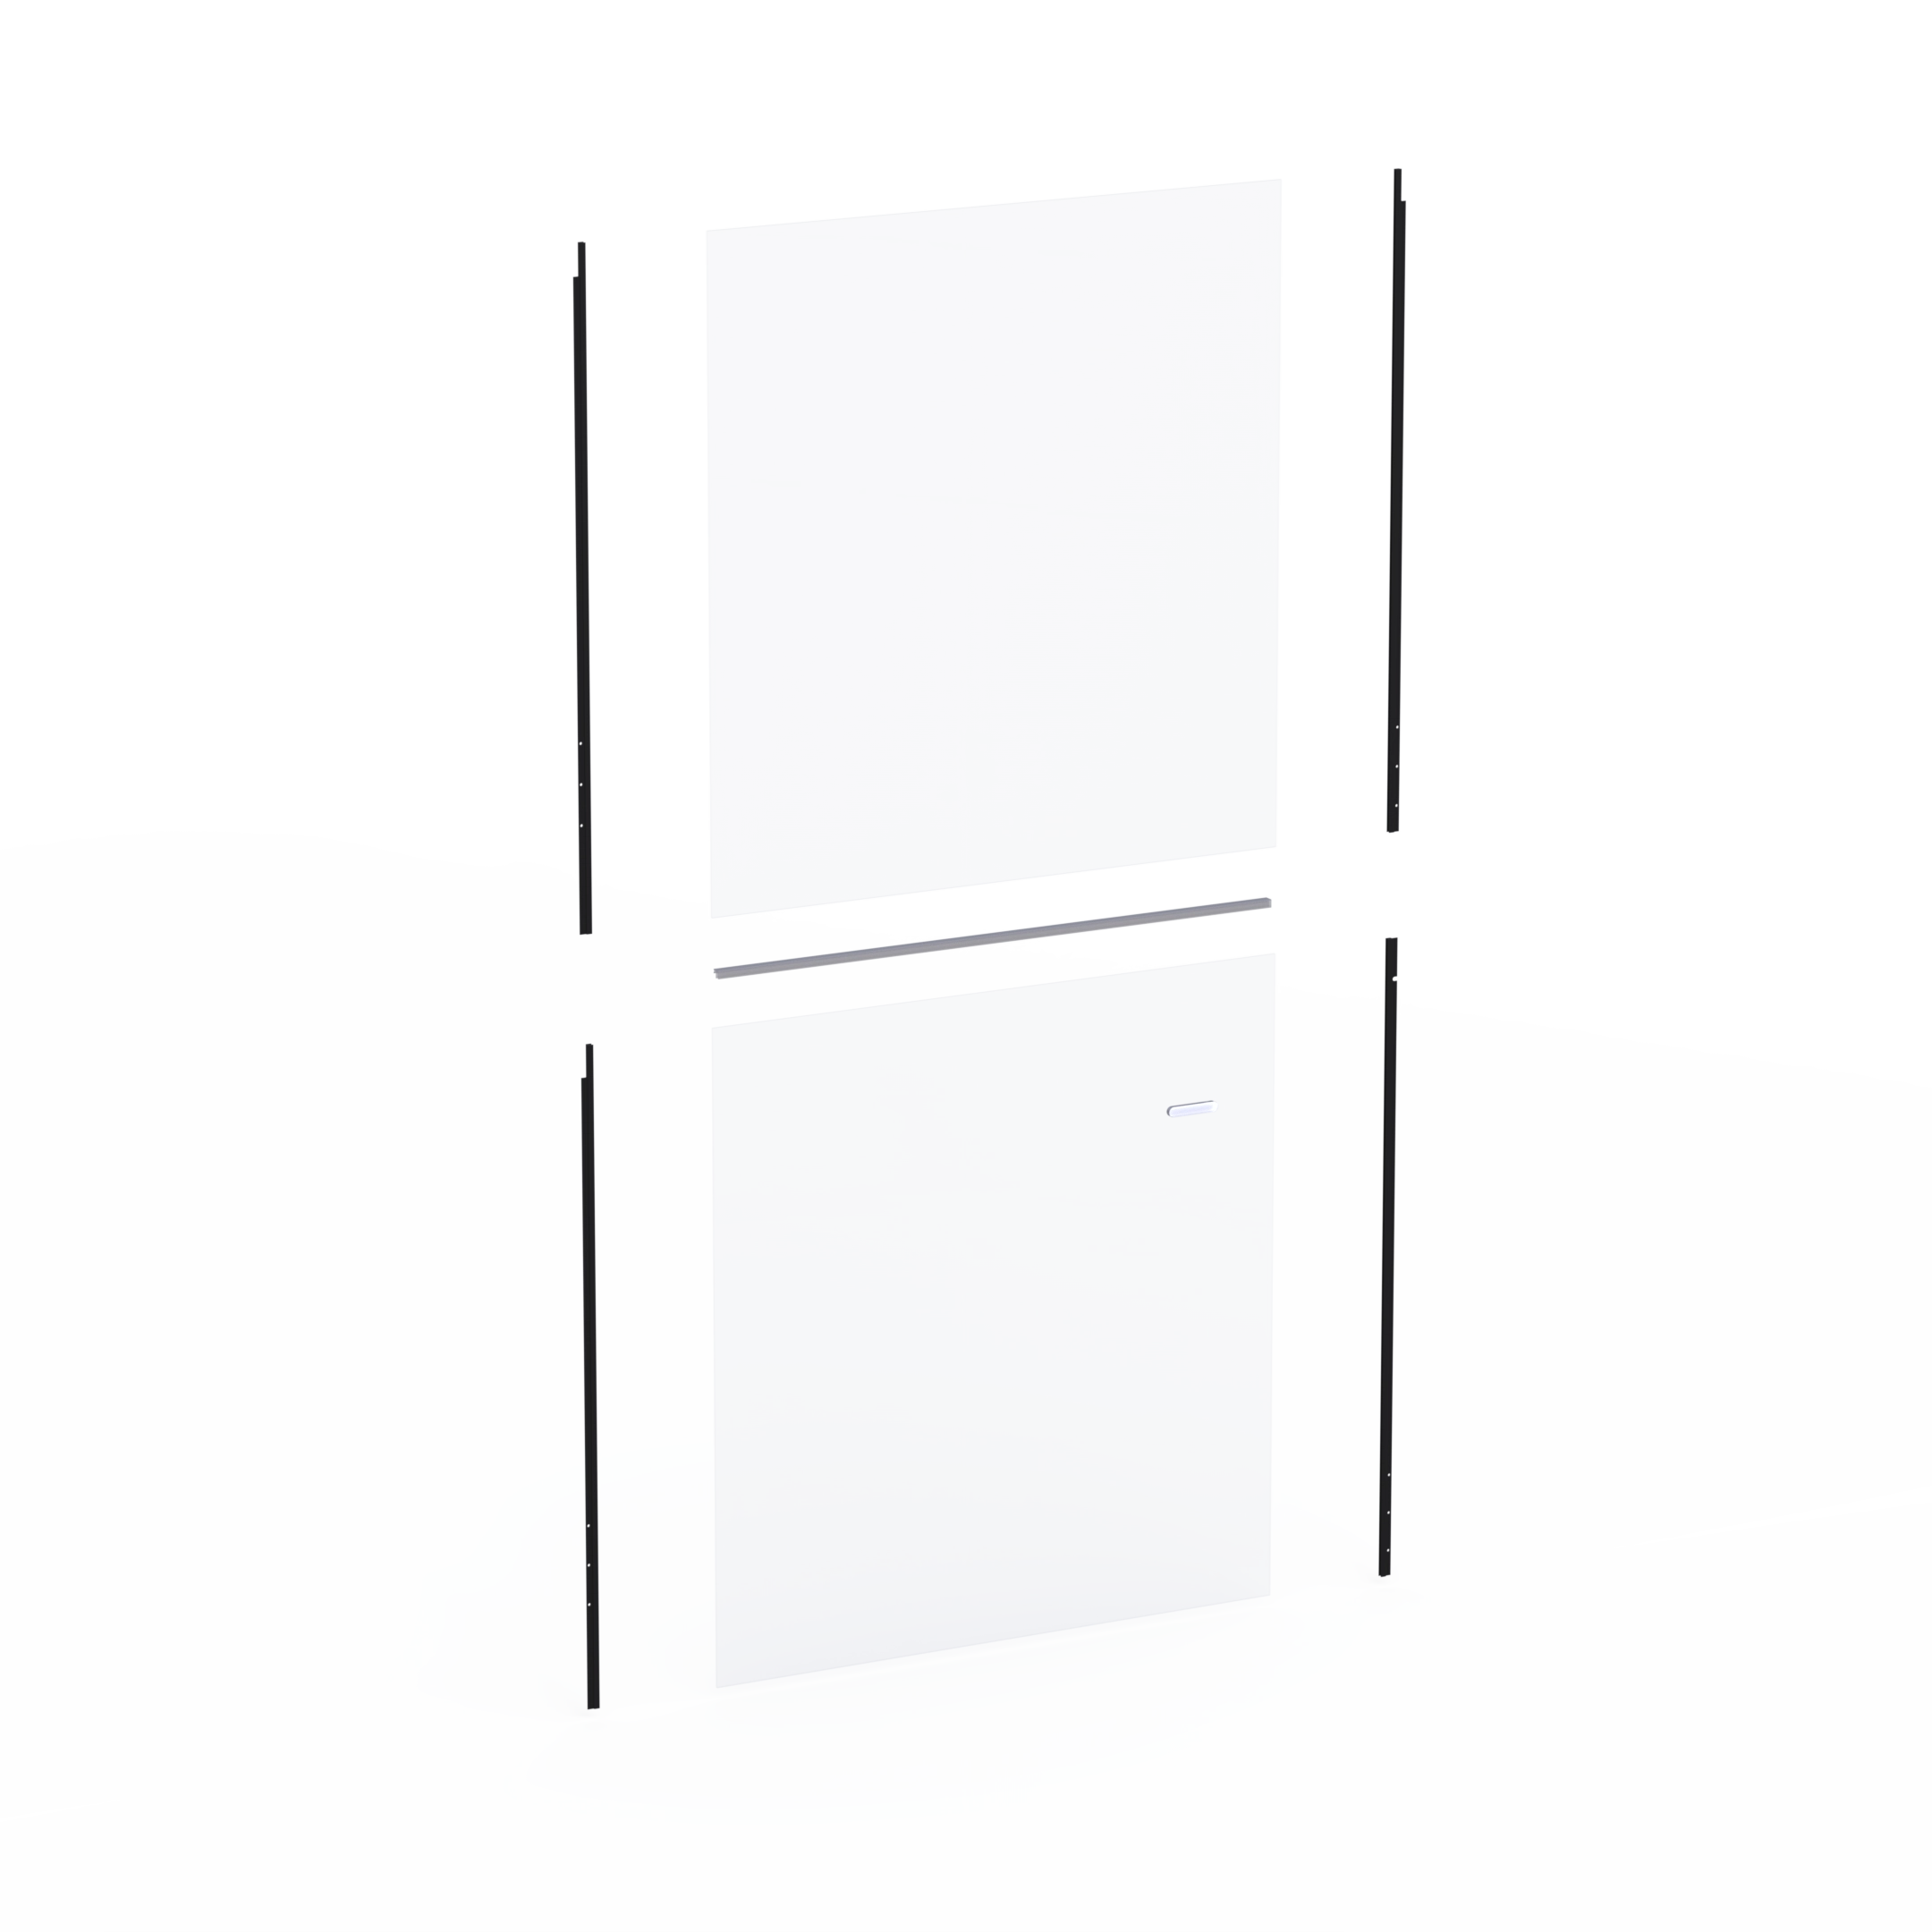
Once the outer frame is assembled, the next step is to prepare the glass panels. By this stage, you should have already ordered and received the two glass panels sized according to the glass dimension formulas. Preparation is straightforward: take the two sash holder extrusions cut and notched in step one and glue them to the left and right edges of each glass panel. For the bottom sash, glue the Bottom Sash Brush Holder (clear PVC) along the top edge and attach the clear sash handle in your desired position.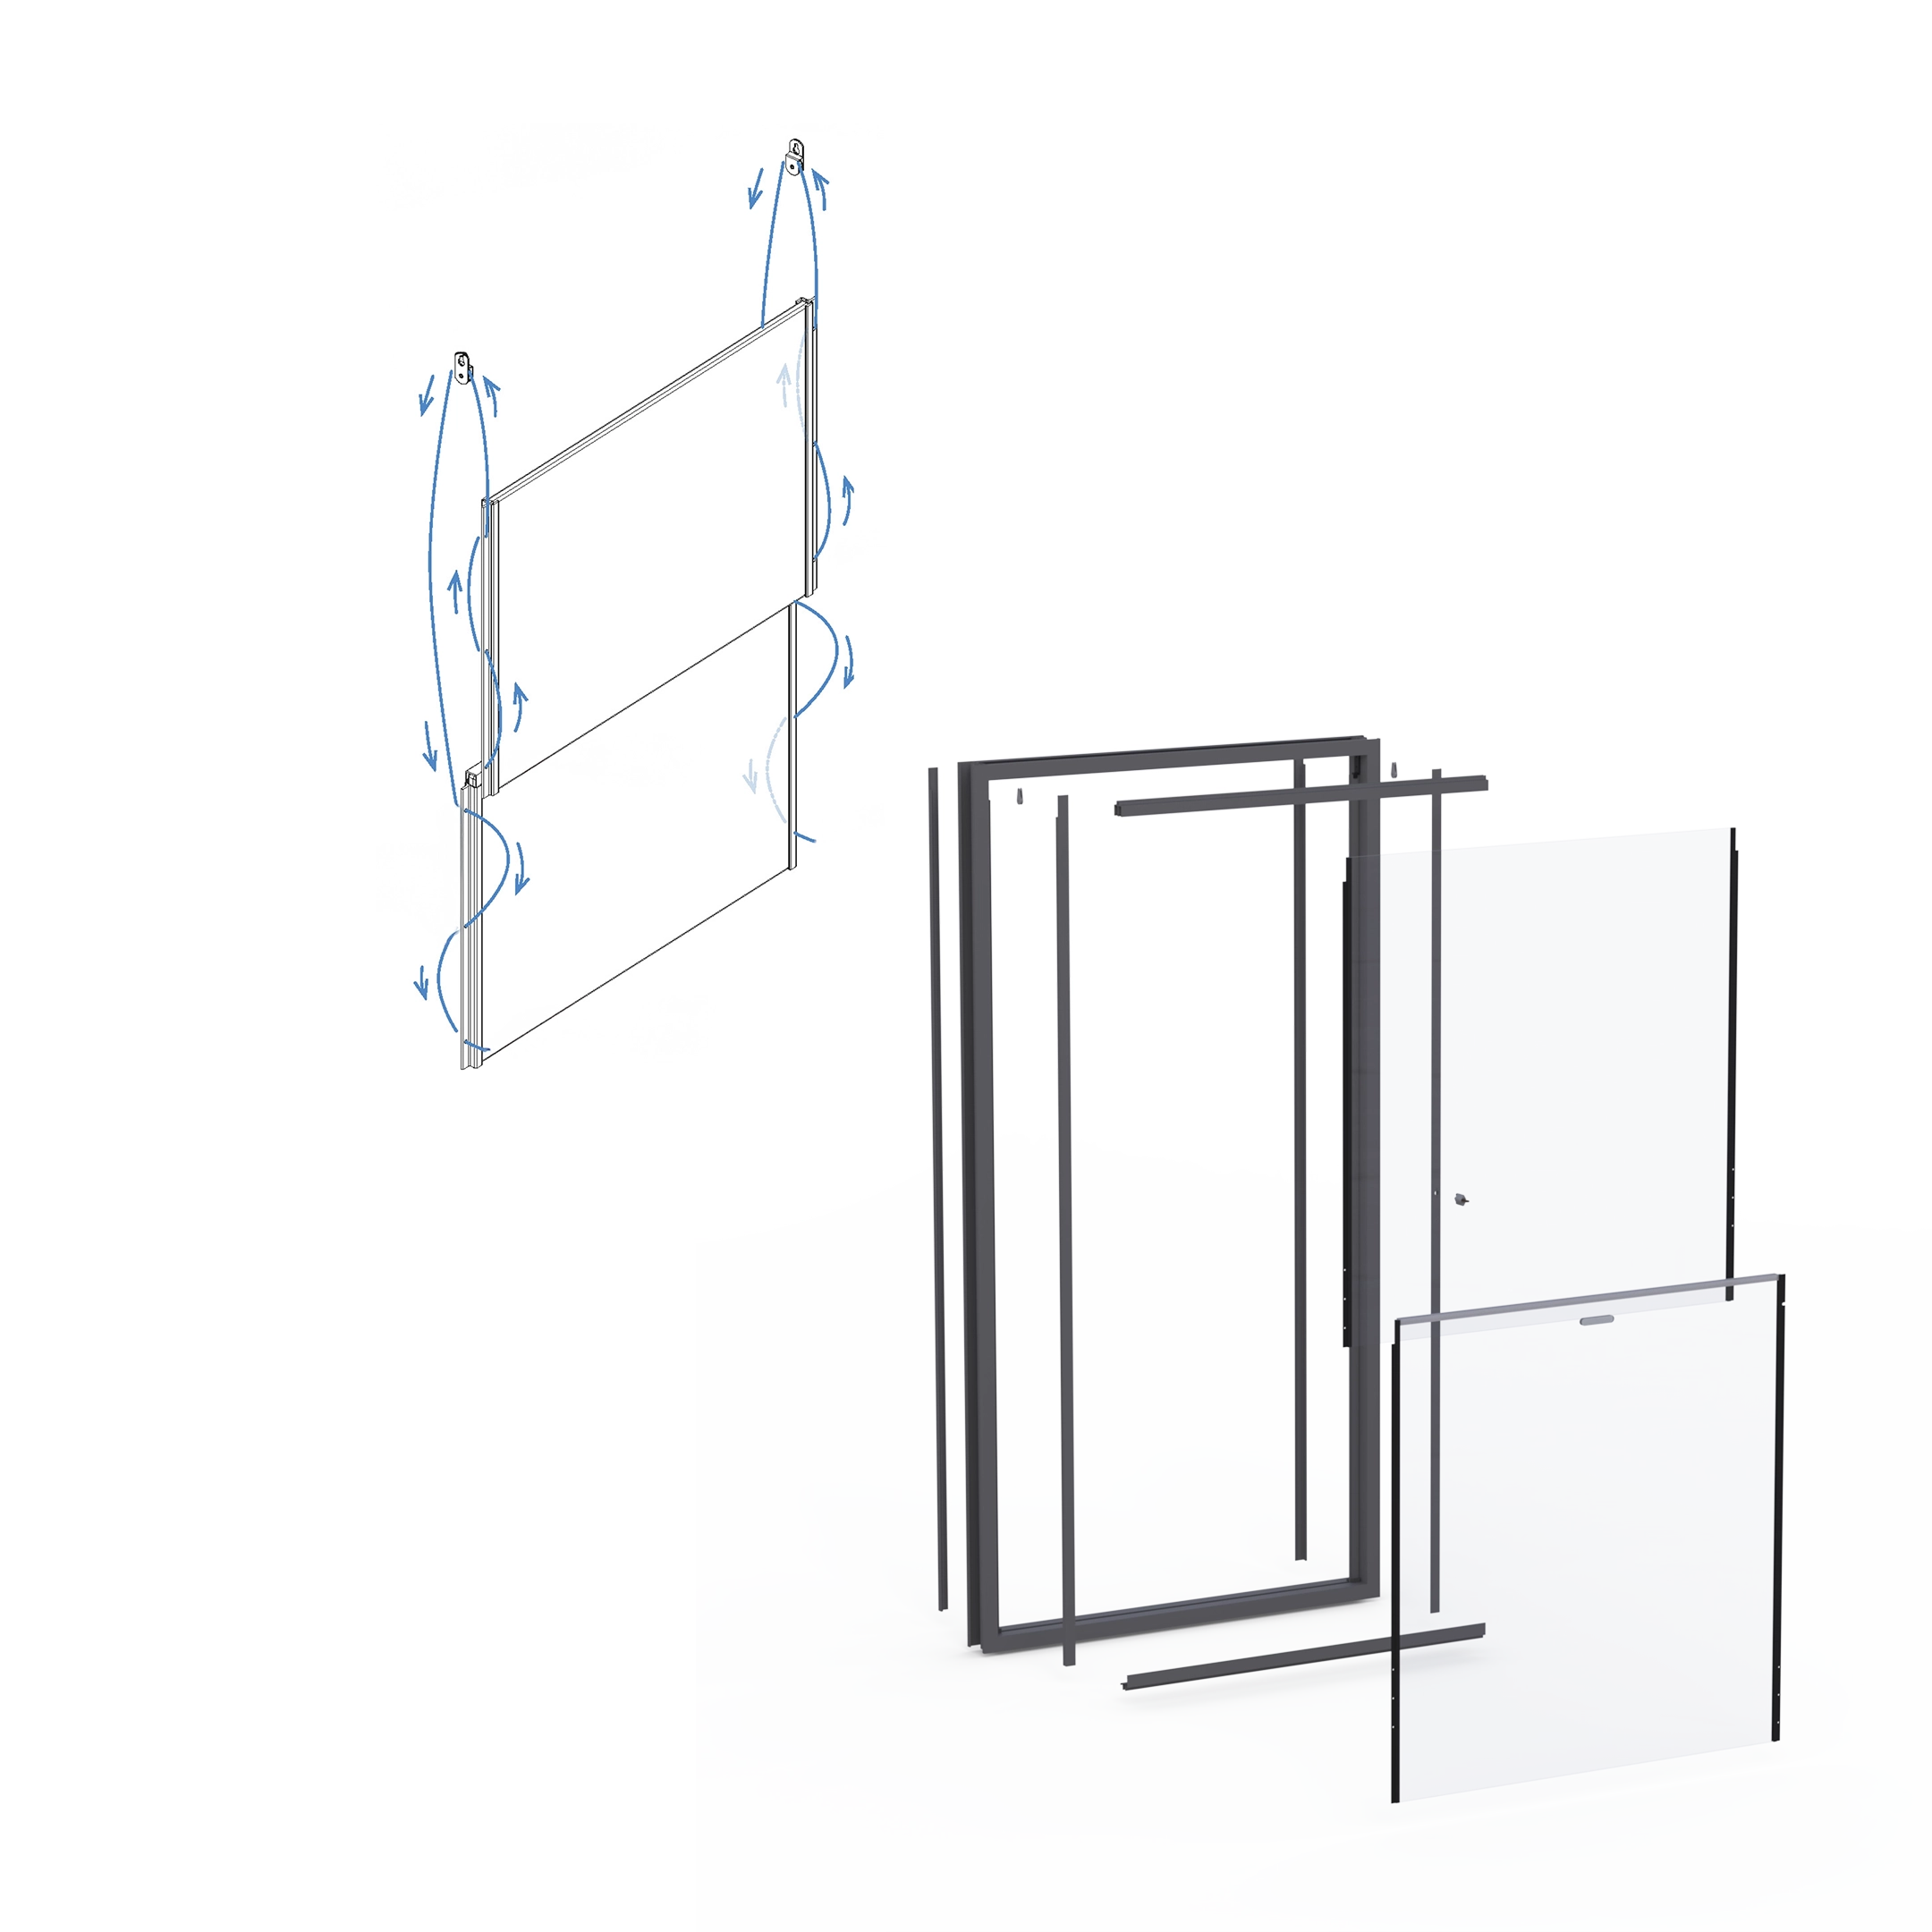
Step Four
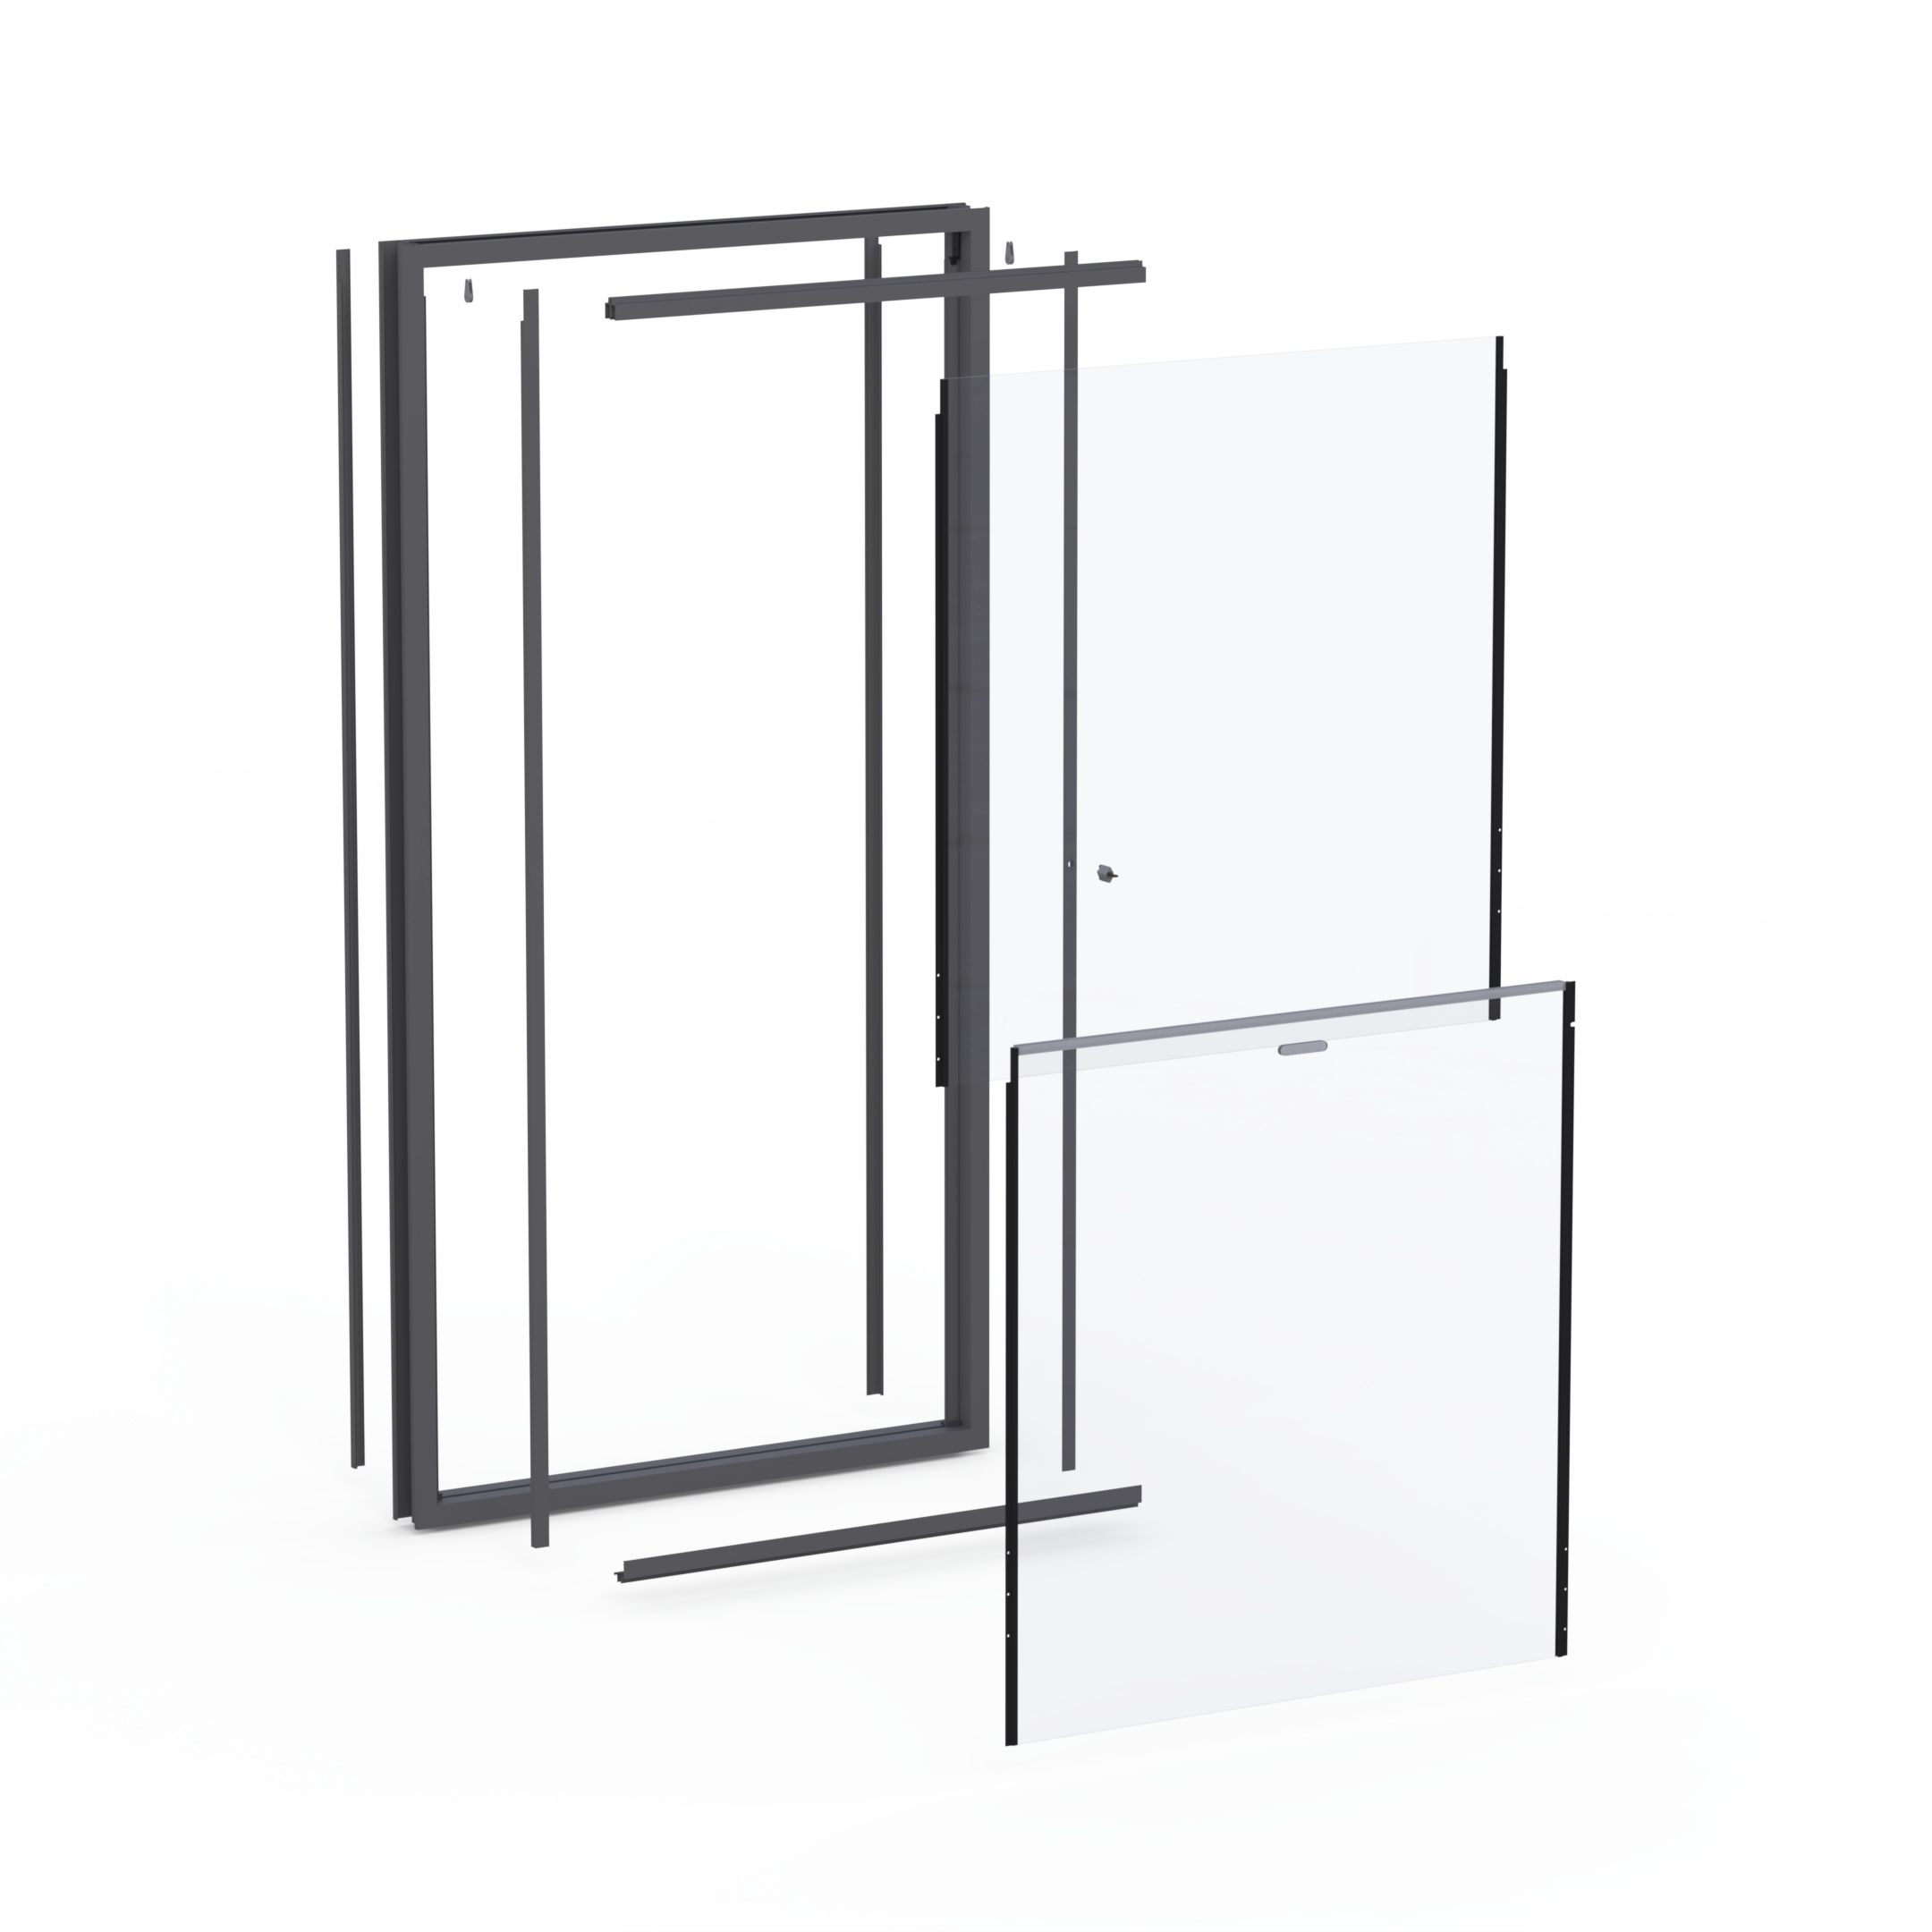
Step four is the most detailed stage of the process: assembling and installing the completed sashless window. Once all components are prepared, you're ready to begin.1. Install the Head and Sill Extrusions Apply a small bead of silicone along the outer edge of each extrusion. Then, simply click them into place in the Clip44 Profile.
2. Fit Jamb Part A Attach Jamb Part A to both the left and right sides. These form the foundational base for the sashless window extrusions.
3. Install the Pulleys Insert the two pulleys at the top of each jamb. These pulleys will link the two sashes and allow them to counterbalance each other smoothly.
4. Thread and Position the External Sash Starting with the external sash, attach the non-stretch, woven polyester cord to the bottom of the left glazing attachment. Thread it up through the sash holder and over the pulley. Repeat this on the right side, then carefully place the external sash into its channel.
5. Secure Jamb Part B Attach Jamb Part B on both sides to enclose the external sash securely within its channel.
6. Connect the Cord to the Internal Panels Take the cord lengths already threaded through the pulleys and attach them to the internal sash panels. Thread each cord down through the predrilled holes and tie them off at the bottom.
7. Adjust for Proper Alignment If the cords are cut to the correct length-roughly three times the height of a single glass panel-both sashes should sit in the correct position. If needed, fine-tune the alignment by adjusting the knots on the internal sash.
8. Finalise with Jamb Part C Click Jamb Part C into place on both sides. This section includes the pre-fitted locking mechanism. At this stage, both sashes are fully enclosed and securely balanced within their tracks.